
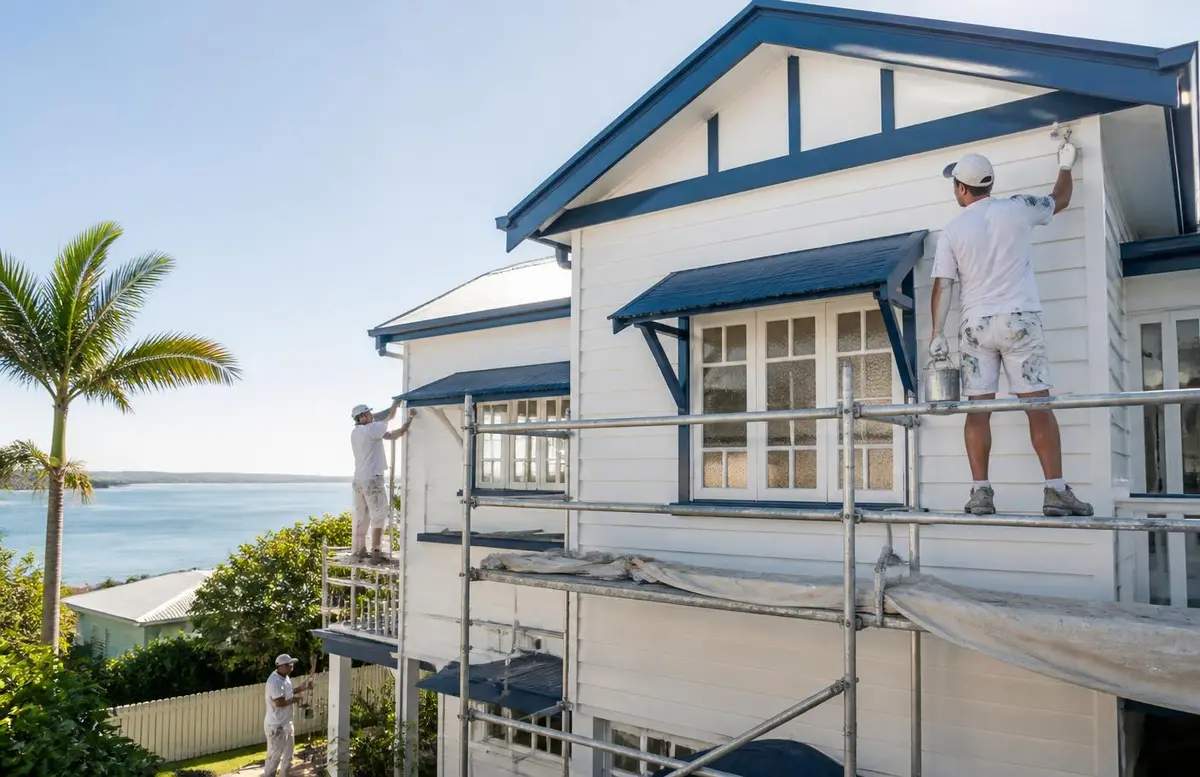
A good exterior repaint is less about the final coat of colour and more about everything that happens before it. In Hervey Bay’s humid, UV-intense, storm-prone climate, the preparation stages largely determine how long a paint job actually lasts. This guide walks through the full end-to-end process we follow on exterior projects across Pialba, Scarness, Torquay, Urangan, Kawungan, Urraween, Point Vernon, Eli Waters, Dundowran and surrounding Fraser Coast suburbs, so you know what a properly done job involves at each stage.
1. Inspection
Every exterior repaint starts with a thorough walk-around inspection of each elevation. This identifies areas of coating failure, timber rot, cracked render, rusted fasteners, mould-affected areas and moisture sources such as leaking gutters or poor drainage. It also establishes which surfaces are sound and which need more significant repair, which shapes both the scope and sequencing of the job.
- Check each elevation separately, since north, south, east and west walls typically show different wear patterns
- Identify and note any rot, movement cracks, or previous repair work
- Check gutters, downpipes and flashing for signs of past or ongoing leaks
- Note areas affected by mould, particularly shaded southern walls and eaves
2. Washing
Exterior surfaces are washed to remove dirt, salt residue, chalking paint, cobwebs, mould and general grime before any sanding or repair work begins. In coastal areas closer to the Esplanade, Point Vernon and Urangan, salt build-up on surfaces is a genuine consideration, since it can interfere with paint adhesion if not properly removed. Washing also reveals the true condition of the surface underneath, which sometimes changes the scope identified in the initial inspection.
Surfaces need to be genuinely dry, not just surface-dry, before sanding, filling or priming begins. Painting over residual moisture trapped in timber or render is a common cause of early coating failure, particularly in our humid climate.
3. Scraping and sanding
Loose, flaking or peeling paint is scraped back to a sound edge, and surfaces are sanded to smooth transitions between old paint and bare substrate, and to key (lightly roughen) surfaces so new paint can bond properly. Feathering the edges of scraped areas helps prevent visible ridges or lines once the new coat is applied.
Timber-specific considerations
Weatherboard and timber trim often need more detailed sanding around joints, end grain and areas where previous coatings have failed, since these are the points most vulnerable to moisture entry.
4. Repairs and filling
Any rot, cracks, holes or damaged sections identified during inspection and sanding are addressed at this stage. Rotten timber sections may need to be cut out and replaced rather than filled, since filler cannot restore structural integrity to compromised timber. Cracks in render are filled with an appropriate flexible filler that can accommodate minor movement without cracking again.
- Replace, rather than fill, structurally compromised or rotten timber
- Use flexible fillers on render to accommodate natural movement
- Sand filled areas smooth and flush with surrounding surfaces once cured
- Spot-prime any bare timber or repaired areas before proceeding
5. Gap sealing
Gaps around windows, doors, trim junctions and other joinery are sealed with an appropriate exterior-grade sealant to prevent water ingress. This step matters particularly ahead of Hervey Bay’s storm season, since wind-driven rain can find its way into even small unsealed gaps and cause hidden moisture damage over time.
6. Priming
Bare timber, bare render, repaired areas and any surfaces with stains (such as water marks, mould residue or rust) are primed with a suitable primer matched to the substrate and the issue being addressed — a stain-blocking primer over water marks, for example, or a rust-inhibiting primer over metal fixings. Priming provides a stable, uniform base for the top coats and helps prevent issues like tannin bleed from certain timbers showing through the finished colour.
Primer is not just an undercoat for colour — it is often the layer doing the most work to ensure adhesion and block underlying issues. Applying top coat directly over bare or stained surfaces without appropriate priming is one of the most common causes of premature repaint failure.
7. Masking and protection
Windows, fixtures, garden beds, paths, outdoor furniture and anything else not being painted is masked or covered before top coats begin. This protects your property from overspray and drips, and keeps clean lines around trims, windows and fixtures for a tidy finished result.
8. Coat application and film build
Top coats are applied in the number and thickness recommended by the product manufacturer to achieve proper film build — the total dry thickness of paint needed for the coating to perform as designed. Applying coats too thinly, or skipping a recommended coat to save time, reduces UV resistance and durability, which matters significantly given Hervey Bay’s UV exposure. Coats are applied allowing correct recoat times between them, since applying a second coat before the first has properly cured can trap solvents or moisture and compromise the finish.
- Follow manufacturer-specified number of coats and film thickness
- Allow correct recoat intervals between coats, not just "touch dry" time
- Maintain a consistent application technique across each elevation to avoid visible lap marks
- Check coverage in changing light conditions (morning and afternoon) before calling a coat complete
9. Weather windows during the wet season
Hervey Bay’s wet season, roughly November to March, brings higher humidity, more frequent rain and storm activity, all of which affect paint application and curing. Painting is scheduled around suitable weather windows — avoiding application immediately before forecast rain, during high humidity that slows drying, or during periods of very high temperatures that can cause coatings to dry too fast and affect finish quality.
Reading the conditions
Even on a dry-looking day, high humidity can extend drying and curing times well beyond what the label suggests. We monitor forecasts and adjust scheduling to avoid applying coats when rain is likely before adequate drying has occurred, and avoid working during the most intense midday UV and heat where it could affect application quality.
10. Drying and curing
It is worth distinguishing between drying and curing. Drying is when a coating is dry to the touch, which can happen within hours. Curing is the longer process where the coating fully hardens and reaches its designed durability and resistance properties, which can take considerably longer, especially in humid conditions. Furniture, fixtures and heavy contact with newly painted surfaces should be avoided until curing is substantially complete, not just until the paint feels dry.
11. Final inspection
Once coats are complete and cured, each elevation is checked in good light for even coverage, consistent sheen, clean cut-in lines around trims and fixtures, and any missed spots. Masking is removed carefully to avoid pulling at fresh paint edges, and the property is checked for any overspray or debris from the works.
12. Aftercare
- Avoid hanging items, leaning furniture or attaching fixtures to freshly painted surfaces until fully cured
- Keep sprinklers and irrigation away from newly painted walls for the first week or two
- Gently wash exterior surfaces periodically to remove salt and grime build-up before it accumulates heavily
- Keep an eye on gutters and drainage to prevent new moisture issues developing
- Address any small chips or scuffs promptly before they become larger repair areas
Every stage in this process, from washing through to curing, contributes to how well your paint job holds up against Hervey Bay’s UV, humidity and salt air. Rushing preparation to get to the “visible” part of painting sooner is one of the most common reasons exterior paint jobs underperform.
If you would like a proper, staged approach to your exterior repaint rather than a rushed job, we would be glad to help. Call now on +61 7 4428 2846 or email quotes@housepaintersherveybay.com.au to arrange an inspection.
Questions about your own property?
Call Now — +61 7 4428 2846For a local assessment, explore our house painting service in Hervey Bay or ask about work in Dundowran.
Request an on-site painting assessment